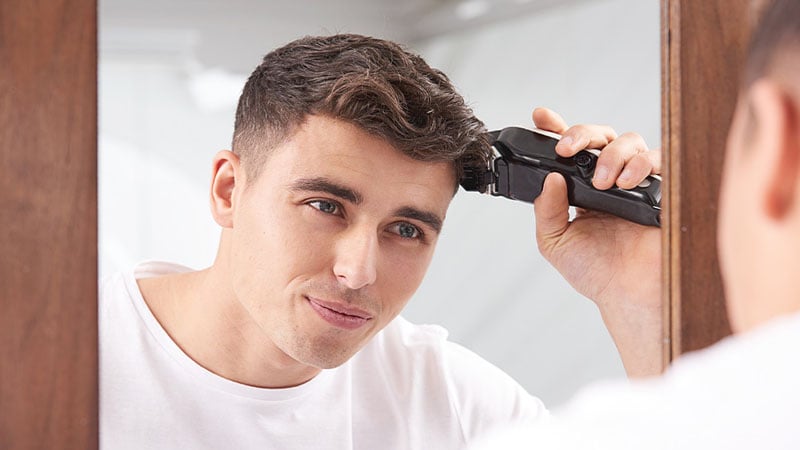
Much of the world is in quarantine or isolation, and many services, including barbers, are in hibernation. As such, your usually perfectly coiffed hair might be starting to match your new-found isolation casual style. Not to worry, as cutting your own hair at home like a professional is easier than you think. Any home craftsman will know, kicking goals with a DIY project is all about appropriate preparation and having the right tools for the job. Have a look at the guide below for pre-haircut to-dos, tools, and techniques for both cutting and styling.
What to Do Before You Cut Your Own Hair
When it comes to cutting your hair, preparation and patience are critical. It’s not something to be rushed, or only given half an effort. As such, there are a few things you’ll need to get sorted before you begin. Have everything ready to go before you start, so you’re not scrambling for things mid-cut.
1. Decide on the Haircut Style
Going into any project without an idea of the desired outcome is asking for disaster. You want to know what kind of hairstyle you’re aiming for before you start cutting. Do you want a classic crew cut, fade, faux-hawk, or a pompadour?. The options are endless, so a goal is vital. Look online for inspiration and different options, and have some reference photos on hand.

2. Choose The Right Tools
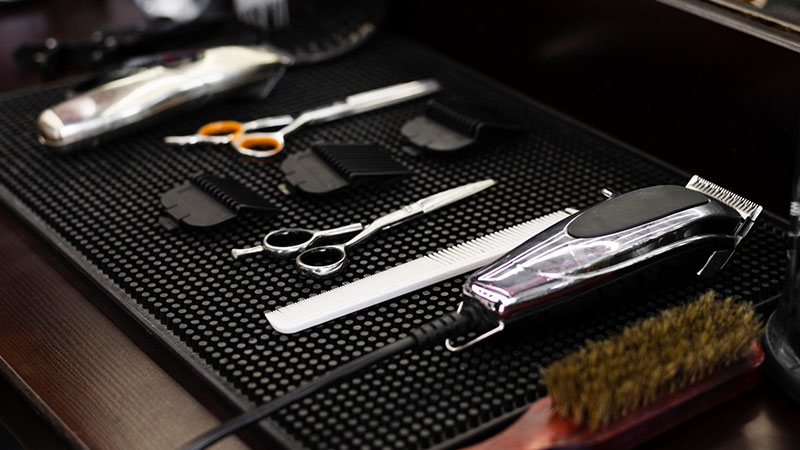
Getting any DIY job done with as little stress or extra work as possible is all down to having the right tools. You’ll want to make sure you’re set up with the right equipment for both cutting and styling. For the cut, essential items include two mirrors — a wall-mounted one, and a handheld one; a clipper set; scissors; and a comb. Regarding the clipper set, you’ll want one that has different length attachments to make fading easier. You’ll also want hair cutting scissors that are sharp and won’t damage your hair. The kitchen scissors from the junk draw just won’t cut it in this situation. If you’re feeling fancy, you could invest in a cape, though it’s not essential. Styling will require heat protectant spray, a blow dryer, sea salt spray, and hair product. Have everything set out and ready before you start.
3. Find a Space to Cut Your Hair
Choosing the right location to cut your hair is important. You need good light, and ideally somewhere that’s easy to clean up. The bathroom is probably the best choice. You’ll already have a wall-mirror, the shower is just there, and the lighting will be ideal. Additionally, it’s not a large space, so you can easily put a sheet down to catch the hair. The garage is another option; however, just make sure the lighting is good.
4. Get in the Right Position to Cut Your Hair
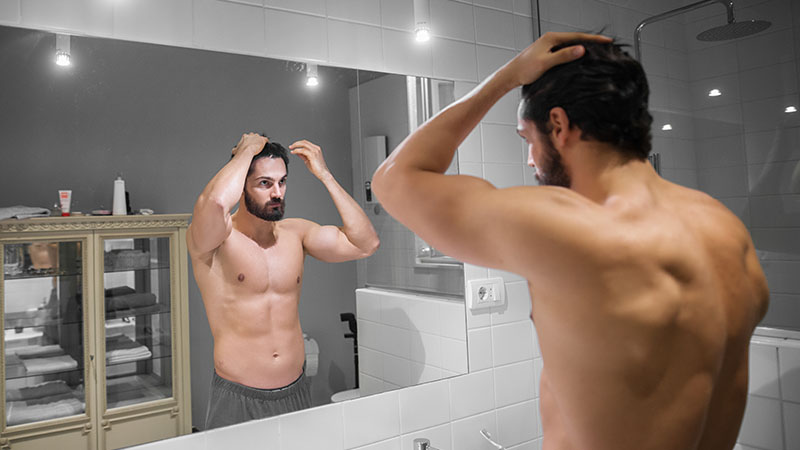
Guesswork shouldn’t play a role in your home haircut. As such, you’ll need to make sure you have no blind spots when you start cutting. This is where your handheld mirror comes into play. You could face the wall mirror, holding your clippers in your dominant hand, and the small mirror in the other. Make sure you can see the reflection from the small mirror in the large mirror. Getting the position right, and moving about as you cut might take some getting used to, so just take it slow when you do start. Alternatively, you can face the small mirror and work with your back to the larger mirror. Either way will do, it might take a little while to decide what works best for you.
5. Wash and Towel Dry Hair
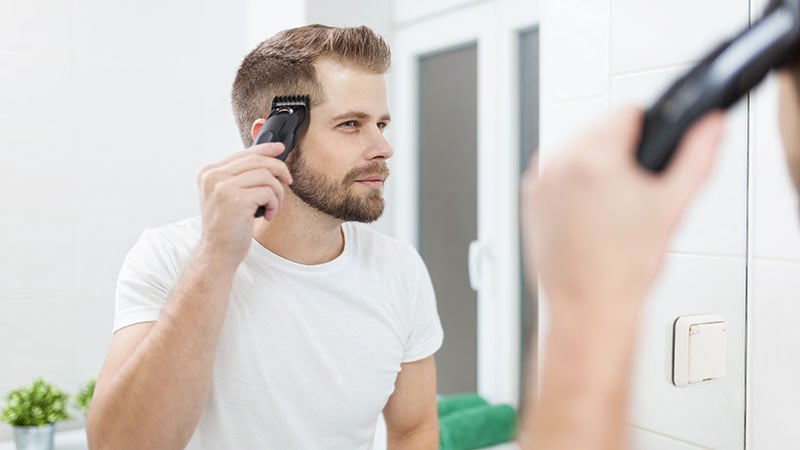
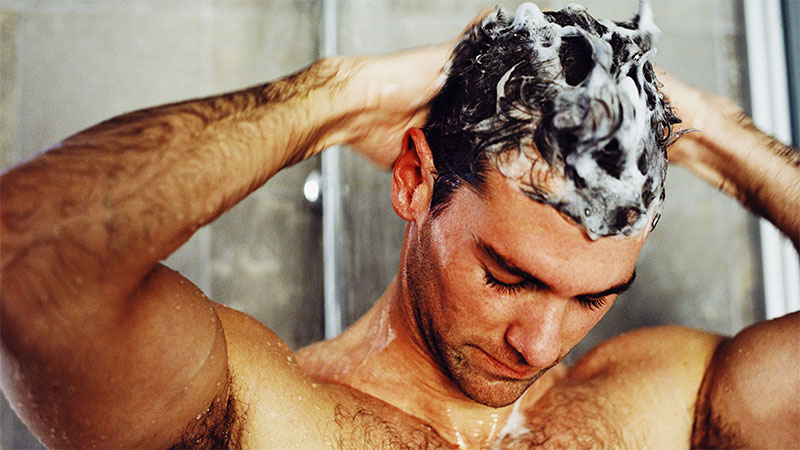
The final step of hair cut prep is to wash and towel dry your hair. Doing this will make sure there’s no product in your hair that will affect the cut or clog your trimmer. It also means that your hair will be sitting naturally, so you’ll have a better framework to start.
How to Cut Your Own Hair
Now that you have everything ready to go, it’s time for the chop. The process is relatively simple. You’ll start by sectioning your hair, as the sides and top are cut differently. Starting with the sides, you can create a nice fade, before moving on to trimming the top. Keep your reference photos handy, as this will influence your clipper length choices. Below is a rundown on a basic fade and trim. You can easily adapt it for a higher fade. If you’re looking for something different, YouTube is a wealth of resources, with tutorials on just about everything.

1. Find Where You Normally Part Your Hair
Step one is to find where your part normally sits. Separate the hair at your part, combing the top away, leaving the side section exposed.
2. Section Off Your Hair
Now that you have your part, you’ll need to section the top from the bottom fully. Use your comb again to find where the sides separate from the top on the opposite side to your part. What you’ll end up with is a horseshoe-shaped separation of the top section. If you have access to a clip or hairpins, you could pin this section up if the length allows. You’ll now start cutting the bottom section of your hair.
3. Use Clippers On Setting 4 to Fade Out Hair
Clippers will generally come with numbered attachments, which distance the blade from your head, allowing you to cut different lengths easily. A number one will give you a close shave, around an eighth of an inch, while an eight is longer at a full inch. Number four is an excellent place to start. You can always go shorter if you decide its too long. To achieve a professional fade, start long, working through to a shorter cut. On your part side, and run the clippers up the side of your head with the number four attachment, almost to the part. However, before you reach the top, use a scooping motion to pull the clippers away from the side of your head. This creates a smooth fade, rather than lines. Do the other side, then move around to the back, using your second mirror to help.
4. Use Clippers On Setting 3 to Fade Out Hair
Repeat the process used in step three with your number three attachment. However this time you don’t want to go as high as you did in the first round. Start scooping the clippers away about a quarter lower. Keep in mind though, how high you go will depend on what kind of fade you’re aiming for. Remember to keep your reference photos handy. Do the sides first again, before tackling the back. Take your time with all of these steps in creating the fade, especially around the back. There’ll be less chance of a mistake and you can control the outcome better if you’re not rushing.
5. Use Clippers On Setting 2 to Fade Out Hair
Again, as above, swap to the number two attachment, and repeat the process. Scoop outwards at around another quarter lower.
6. Use Clippers On Setting 1 to Fade Out Hair
Finally, you can attach the number one. Repeat the upward trimming and scooping motion, pulling away at roughly a quarter of the original height. By now, you should have a gradual fade. If not, you can always go back over with the longer attachments, and repeat the process to tidy things up.
7. Clean Up Ears and Neck
The sides and back are almost done. The only thing left is to create some sharp edges around your ears and neckline. Consider this step to be the equivalent of using a line trimmer on your lawn. If you do have someone around who can give you a hand, this might be the time to call a friend, as getting your lines neat can be a little trickier. However, if you’re on your own, you can still do this, just take it slow. You just want just the blades for this step, so remove any attachments. To get around your ears, turn the clippers perpendicular to your head and follow the natural hairline around your ear. Along the sides and bottom of your neck, turn the clippers so the edge of the blade is against your skin and create a sharp line along the edges.
8. Cut the Top of Your Hair with Scissors
Next up, is the top. Grab your comb and scissors for this step. You’ll also need to re-dampen your hair if it’s dried out a bit. Starting at the very front, use your comb and fingers to pull a section of hair straight up. You want this section to be about a finger-length long across your head, and a quarter-inch deep. Run your fingers up the section, stopping once the length that you want to remove is poking out the top. Trim the top of the section off, sitting your scissors flat along the top of your fingers. Repeat moving sideways across the front. It’s a good idea to include a little bit of the previous section to use as a guide as to how short you’ve trimmed already. Simply repeat this process of trimming section by section, moving back along your head.
9. Wash and Towel Dry Hair
Finally, you’ll want to wash and towel dry your hair again, to get rid of any little bits of stray hair, and prep for styling.
How to Style Your Hair
This is the moment of truth. Time for styling your new ‘do. Grab your styling products and get ready to see your masterpiece in all its glory. You’re welcome to mix up the styling guide below, using your preferred products. Keep in mind, if you get to this point, and your cut didn’t go quite to plan, it’s not the end of the world. Just remember that hair grows back and you’re not supposed to leave the house right now anyway.
1. Apply Heat Protectant Spray
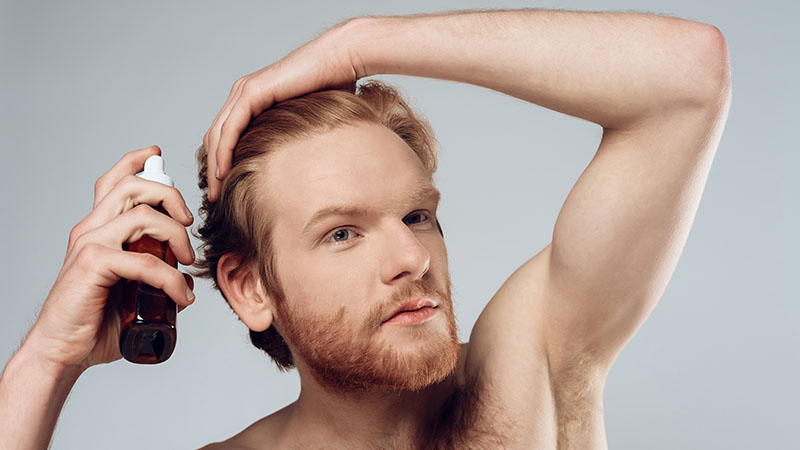
Heat protectant spray is an important step in making sure your hair is not damaged by the blow dryer. A heat protectant adds a barrier between your hair and the heat. It often includes ingredients that will strengthen and smooth the follicles, as well as seal in moisture. To use, apply a few sprays directly to your hair, and work it through with your fingers to ensure it gets everywhere.

2. Apply Sea Salt Spray
Sea salt spray is a fantastic way to add texture, body, and thickness to your hair. Like the heat protectant, give your hair five or six sprays and work it through. You really only need to use this on the longer section of your hair.
3. Apply Hair Product
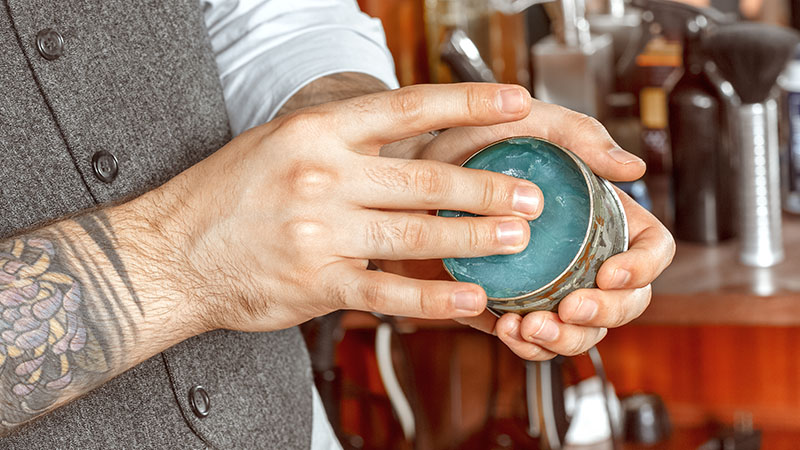
Choose your preferred hair product. Work a small amount between your hands to make sure you get an even distribution, before working it through all of your hair, down to the roots. Applying it while your hair is wet, means you’ll be able to achieve a more natural look, control the style easier, and it will have more staying power. Run your comb through to make sure there are no tangles.
4. Blow-dry Hair
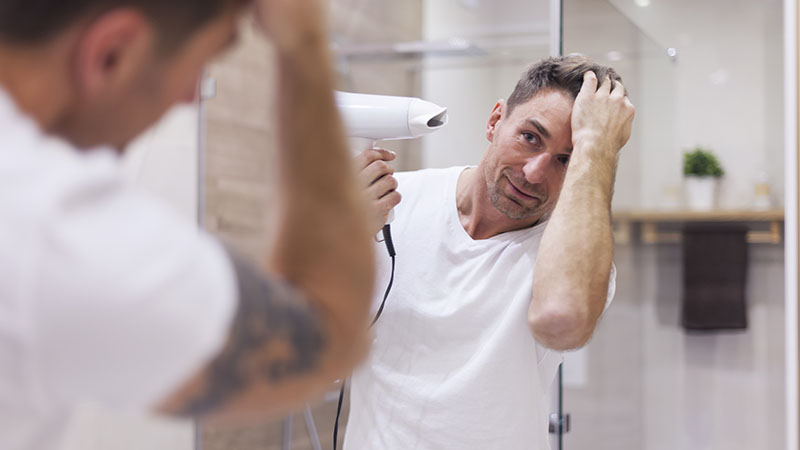
Time to turn up the heat. Depending on the length and style you’re going for, you can either use your hands or a brush to blowdry. You’ll want to get it at least half dry all over before you start styling it into place. Rather than dry, then style, if you start to style during blowdrying, you’ll get a better outcome. The idea is that the heat will mold your hair the way you want and the style will hold longer.
5. Finishing Hair with Product
Once your hair is dry and mostly styled how you want, it’s time for the final touch. Adding a little more hair product at this stage will allow you to enhance the texture, play with certain pieces, and deal with any stubborn bits. Don’t forget about the back — use your second mirror again to check it’s looking good. Then all that’s left is to enjoy your new ‘do!

Alexandra Linde is an experienced writer holding a bachelor's degree in Journalism. She is the owner of Alexandra McKiterick Creative and has expertise in travel, fashion, fitness and lifestyle. Alex has previously written for Flightcenter, Travello, and Backpacker Deals.
SUBSCRIBE TO OUR NEWSLETTER
Subscribe to our mailing list and get interesting stuff and updates to your email inbox.
