
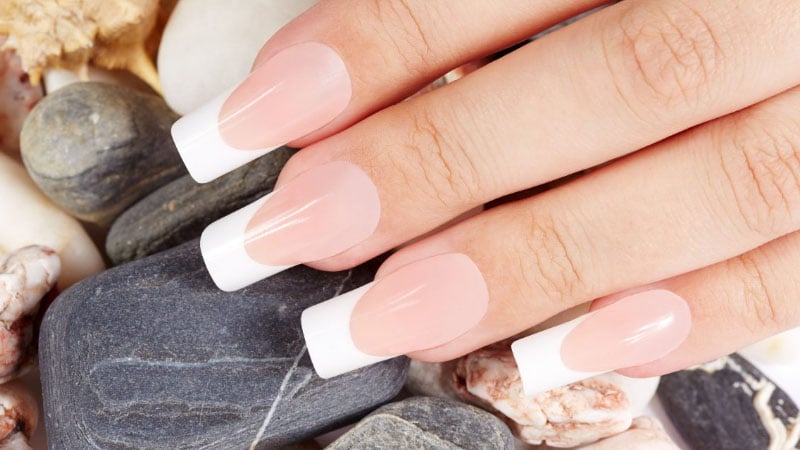
Manicures are some of the best ways to showcase your personality and finish off an outfit. However, if you can’t get to a technician and your fingernails start to grow out, they may not look their best. But don’t worry, there’s an easy and safe way of removing the polish from your fingers and keeping them looking and feeling healthy. Whether you’re a fan of the stiletto shape with diamontes or a classic almond in a single shade, here is how you can remove acrylic nails safely at home.
RELATED: 20 Cute Acrylic Nail Designs You Will Want to Try
RELATED: The Ultimate Guide to Acrylic Nails Designs & Shapes
How Long Do Acrylic Nails Last?
On average, a manicure with acrylic will last anywhere from six to eight weeks. However, to keep them looking healthy and polished, you should get them refilled every two or three weeks. This will fill the gaps between the natural bed and color, making them look clean and tidy.
What to Avoid
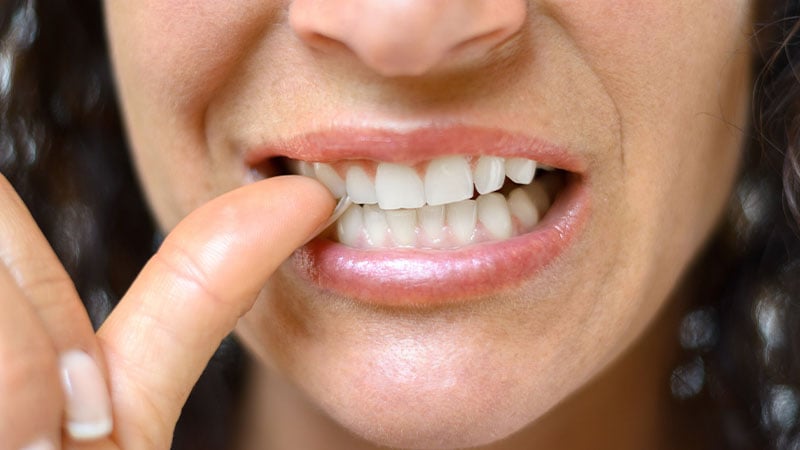
There are several ways to maintain your finger healthy over the weeks before getting them refilled. It’s a good idea to avoid biting your nails and the cuticles surrounding them, as they may get infected. While it’s hard to prevent it altogether, try not to soak your hands in detergent or anything that may dry the surrounding skin. At all costs, do not pull or peel the manicure off the natural bed, as it will rip and tear the layers away and cause damage to the area, plus a bit of pain.
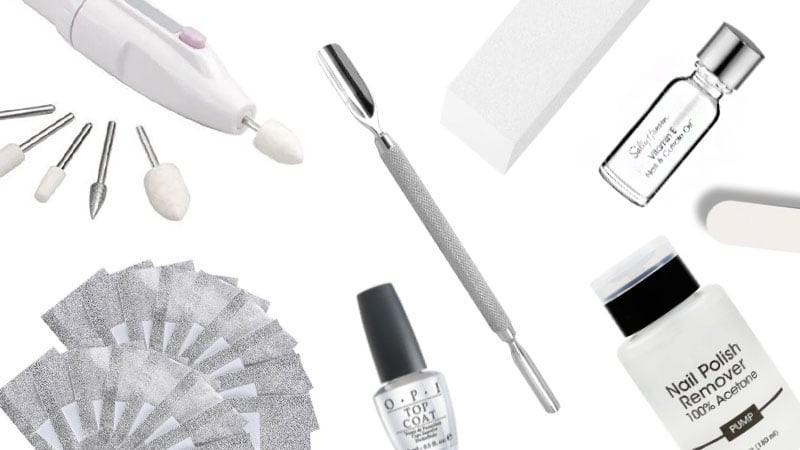
Tools You Will Need
To successfully remove acrylic nails, you’ll require a few tools. In preparation, you’ll need a set of nail clippers, metal cuticle pusher, a nail file and buffer, 98% acetone polish remover, aluminum foil, cotton wool, and petroleum jelly or cuticle oil. You may find a battery-operated buffer can help remove the top layers faster. It would also be a great idea to get a bowl, a towel, and wear some comfy clothes in case of any spillage.
How to Remove Acrylic Nails at Home
Step 1: Remove Shine
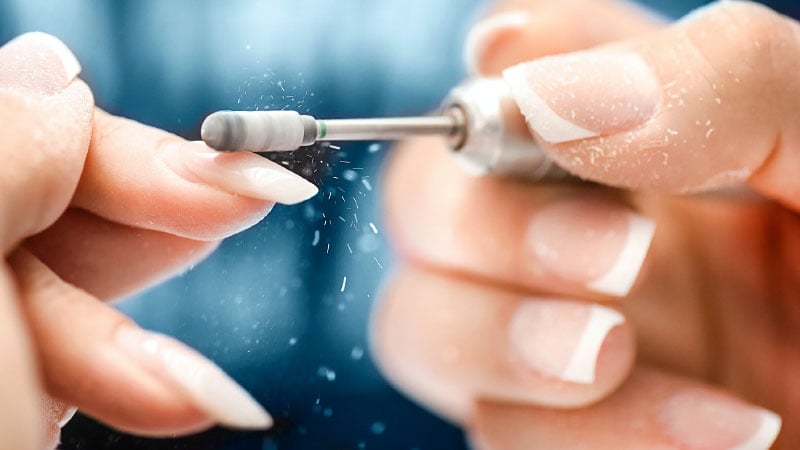
Before you start anything, make sure your nails aren’t too long. To achieve this, use your clippers to cut them down to a natural length, and one that won’t break easily after soaking in acetone. When looking for a file, ensure it has 100 grit as it will take the color off faster. Afterward, begin the process of buffing your acrylic down and removing the shine. Cover the entire nail, and shave them down as much as possible. It will make the acetone act faster and leave your hands feeling healthier.
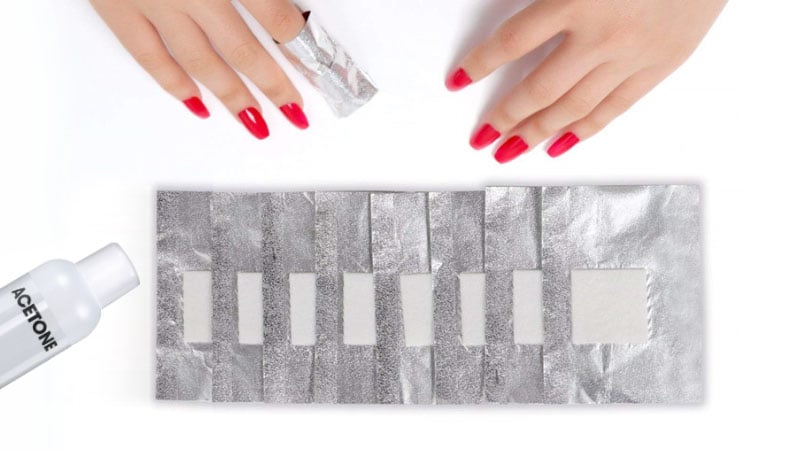
Step 2: Acetone, Cotton Wool and Foil Wrap
After you filed down the excess shine from your fingers, dip a cotton wool bud into the acetone and let it saturate entirely. Then, place the ball on top of your nail and wrap a piece of aluminum foil around it to secure it into place. This will heat the chemical and make the process speedier. When choosing the right polish remover, make sure you pick something with 98% acetone, as it will soak through faster. As this is a very drying solution, you can further prep your cuticles by applying petroleum jelly onto the skin surrounding the bed. Continue the process on each of your fingertips.
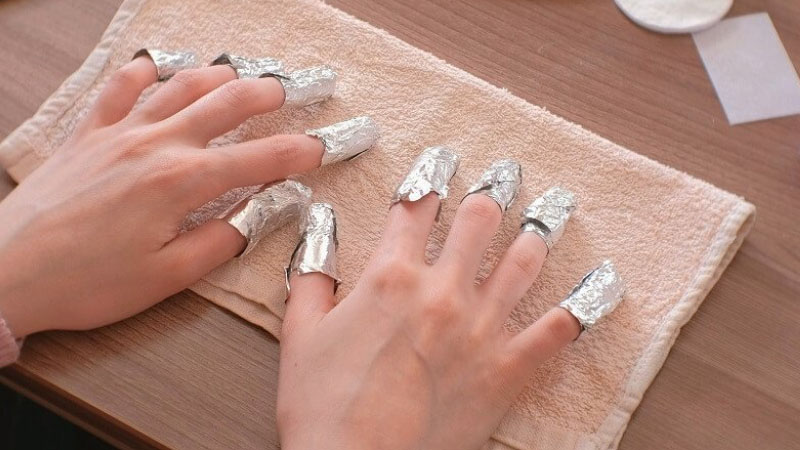
Step 3: Leave in for 10-15 Minutes
Here comes the tricky part. Without moving your hands for 10-15 minutes, let the acetone soak through and remove the acrylic from your nails. It takes a bit of patience, but if you take the foil off your fingertips too soon, the color won’t come off as quickly or efficiently. If you’re unsure of the ways to spend your time, it’s an excellent opportunity to have a chat with someone on the phone or watch a new TV show. Every ten minutes, check to see how the process is going. If you need a bit more time, soak them for a further five minutes.
Step 4: Remove Acrylic with Cuticle Pusher
After you’ve let the acetone sit and soak for 15 minutes, gently peel the aluminum from your fingertips. Using a cuticle pusher, you can start peeling the acrylic off your beds. This is a time to be extra cautious. If the topcoat won’t budge, re-wrap the foil around and let it soak a little while longer. What’s important to remember here is to avoid getting rough – it’s better to stay soft and gentle. To maintain the health of your nails, push downwards from the cuticle to the tip of your finger.
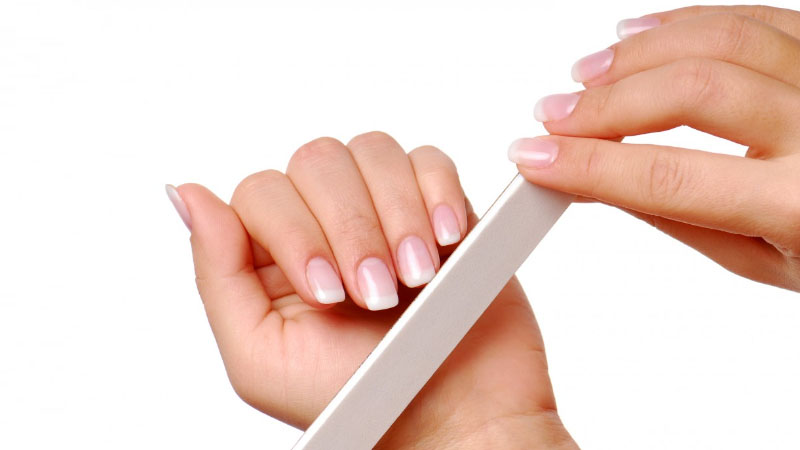
Step 5: File and Shape the Nails
Once you’ve removed all of the acrylics from your fingers, they may look a little bit lumpy. It’s the perfect time to grab an emery board and begin shaping the tips. Make sure you also buff the top of the bed, keeping it smooth and remove any excess polish on top. There are plenty of shapes that suit different hands, but the most popular shape is the oval or almond-shaped nail. Ensure you are being gentle with this process, and be careful not to tear the remaining layers.
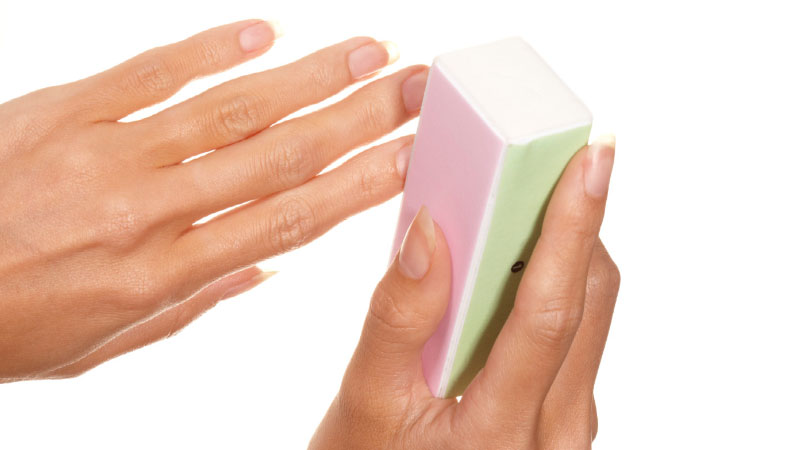
Step 6: Buff the Nails
If you’d like to restore the shine on the top of your fingers, use a buffer to create a natural sheen. It is also a great way to flatten and smooth the nail, making it look and feel healthier. Again, the safest way to harm your natural texture is by buffing too hard. Be gentle and move the block around in varying motions to fully cover the tips. Watch as the sparkle returns and starts to glow.
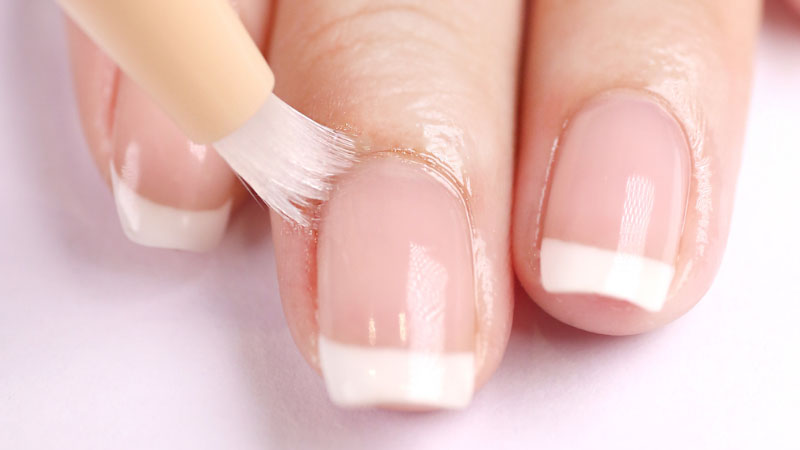
Step 7: Apply Top Coat
Acetone and acrylic can often do damage to your nails, so to help keep them as secure as possible, add a layer or two of topcoat. Choose a bold color or a clear shine – the choice is entirely up to you. Apply a single coat of strengthening varnish, or add a couple for extra thickness. It may also be a good idea to choose a polish that offers extra protection for your cuticles and nail bed.

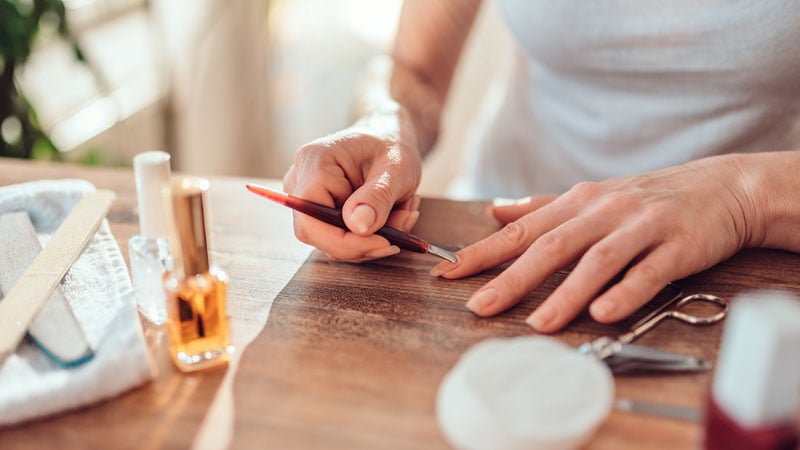
Step 8: Moisturize Cuticles with Nourishing Oil
To add an extra layer of protection to your nails, it’s a great idea to massage a nourishing oil into your cuticles. It will help soften and moisturize the skin surrounding your hands, and gently relax them after being soaked in the chemical. Apply these creams a few times a week, and if you’d like to add an extra step for more luxurious feeling hands, wrap your fingers in a warm cloth for five minutes with the lotions. You will feel like you’ve just come back from a massage.
How to Remove Acrylic Nails
Sometimes, you need a video to help you throughout the process. Check out this step-by-step tutorial by Kiara Sky Professional Nails, which will help you with tips and tricks, and demonstrate the fast and easy way to remove your acrylic nails.

FAQs
What is the easiest way to take off acrylic nails at home?
Acrylic nails look great, and they are a fantastic way to show off your hands as they lend themselves well to a variety of shapes and designs. That said, most women worry about the removal process, which can be complicated and damaging to the nails if not done correctly. There is a way to remove acrylic nails at home, and to do this, you should start by clipping them as short as possible. Then begin the process of buffing your acrylic down and removing the shine. Never peel the nails from the natural nail bed. Place a ball of cotton wool in acetone, and then place it on top of your nail and wrap it in aluminum foil. You will need to let the acetone soak through for around 10 to 15 minutes, so keep still. To complete the process, remove the acrylic with a cuticle pusher and file, shape and buff the nails. To ensure that your natural nails are now protected, apply a top coat of polish and moisturize the cuticles with a nourishing oil.
How can you take off acrylic nails at home without acetone?
Acetone helps remove acrylic nails faster, especially a polish remover with 98% acetone, which will soak through quicker. You can also opt for acetone-free remover or a mixture of vinegar with lemon juice. If you choose this option, you can soak a cotton ball in the mixture, which should be equal parts vinegar and lemon juice, and then place it on your nails and cover with aluminum foil. You can then wait around 15 to 20 minutes.
Does vinegar remove acrylic nails?
Vinegar can remove acrylic nails, although it may take longer or be less effective than acetone. For this option to work, mix vinegar and lemon juice, in equal parts, in a bowl. You can also soak your hands in warm water for 10 to 20 minutes first to help speed up the process.
How do you get acrylic nails off without it hurting?
Perhaps the worst part about getting acrylic nails is the removal process, which is time-consuming and sometimes painful. To ensure that the experience is as easy and fuss-free as possible, you need the right tools and be diligent about following all the steps to remove the nails without damaging your natural ones. The steps are as follows: cut nails short, file down the top layer, soak the acrylic off in whichever mixture you prefer, wait enough time to allow the acrylic to lift. Then remove it with a cuticle pusher and file. Lastly, be sure to give your nails some love and care by adding nourishing oils and topcoats.

Alexandra Feiam is an experienced fashion writer who holds a degree in journalism. She has an impressive portfolio and expertise working as the Editor at Power Retail and Commercial Content Editor at Newscorp. Ally has been writing for The TrendSpotter since 2018, and her work has been featured in notable publications such as The Herald Sun, Arirang TV South Korea, Kidspot, The House of Wellness, and The Daily Telegraph.
SUBSCRIBE TO OUR NEWSLETTER
Subscribe to our mailing list and get interesting stuff and updates to your email inbox.