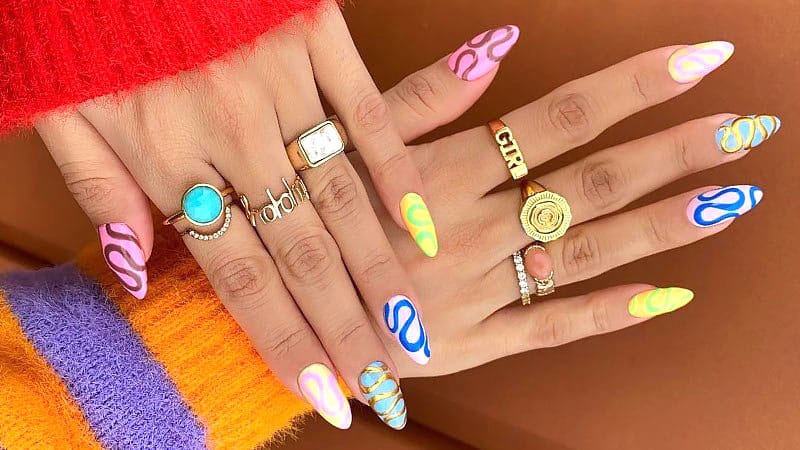
If you’ve been dreaming about the perfect manicure that doesn’t require experimenting with ratios, mixing, or monomers, then Polygel nails are exactly what you have been looking for. This nail approach is in-between a gel manicure and acrylic nails but is strong, more flexible, and lighter. It is incredibly versatile and can be applied as an overlay to natural nails or sculpted, resulting in a stunning, sturdy manicure. Say goodbye to harsh chemicals and strong smells, and hello to Polygel nails. Keep reading to find out everything you need to know.
What are Polygel Nails?
Polygel nail technique is an approach that can take your manicure to the next level. It is similar to gel and acrylics, taking the good qualities of both but without the negatives. Polygel has a putty consistency and is applied to the nails and then smoothed with a flat brush. It is incredibly versatile and can be used as an overlay to natural nails or sculpted in the same way as acrylics. It requires no mixing or monomers and does not contain harsh chemicals. You are getting strong, flexible, and light nails that do not have a strong odor and will not harm your natural nails. They can be cured under an LED lamp or UV light, and are often clear, pink, or white, but can be mixed with gel or regular polish if you want to experiment with colors.
Polygel vs. Gel
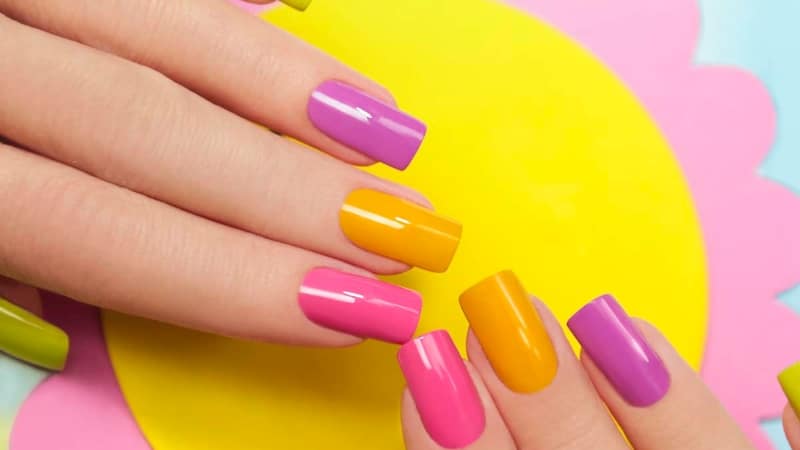
At first glance, you may see very little difference between Polygel and gel nails, but there are some important distinctions. Gel nails are not an extension of your natural nails but instead a type of polish that usually lasts longer than the regular nail polish. Polygel on the other hand is stronger than hard gel and can be applied as a natural nail overlay, or as an enhancement. Both gel and Polygel are cured under UV light, but Polygels can also be cured using an LED lamp. They tend to be lighter and more flexible and do not have a strong smell. Gel nails are thinner than Polygel and are therefore more prone to breakage.
Polygel vs. Acrylic
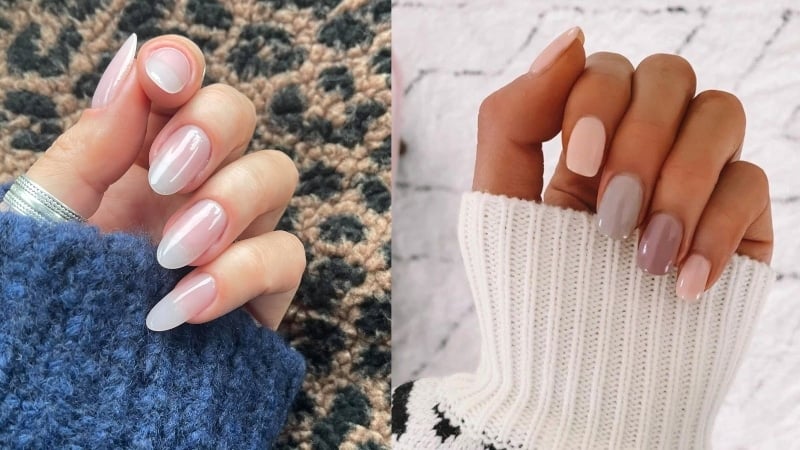
There are definite pros to acrylic nails, especially the length and versatility of nail shapes and nail art. That said, Polygel offers an attractive alternative. One of the significant benefits of Polygel over acrylics is that they tend to be more flexible, lighter, and stronger. They are less likely to break and also look and feel natural. They do not have an odor; some people think that the monomer dust applied to acrylics has a very strong smell. Another benefit to Polygel is that it is easier to apply and does not require any mixing, the way that acrylics do. Acrylics are created using a mixture of powder monomer and acrylic liquid. Acrylic nails are an extension on your natural nail, whereas Polygel can be an extension, or applied onto your natural nails as an overlay.
How to Apply Polygel Nails?
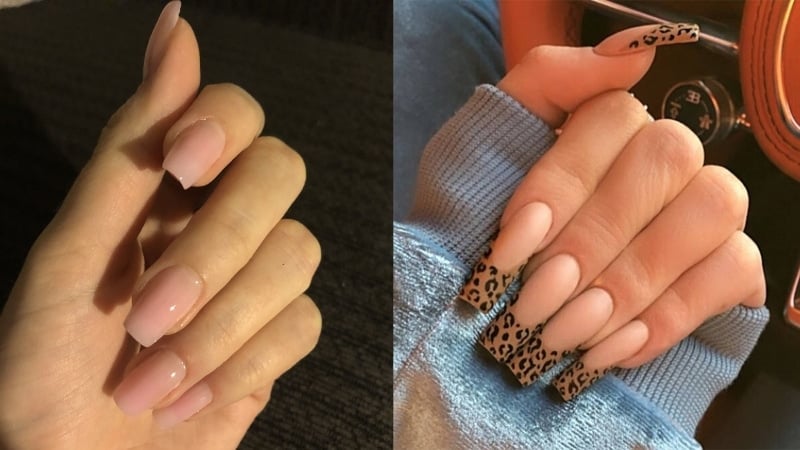
Polygel nails are fantastic because the process used to create them does not damage your natural nails. There are also no harsh chemicals or odors involved. The result is gorgeous nails that are flexible and versatile. To apply them, you need only to follow a few simple steps, starting with preparing your nails and finishing with lotion or oil to moisturize your hands. Keep reading to find out more, whether you intend to go to a nail salon to get them done or plan to experiment in the comfort of your home.
Prepare the nails
When getting ready for your Polygel manicure, it is important to take the appropriate steps to prepare your nails. This will include filing down your nail and sculpting them to your desired shape. You should also push back your cuticles and wash and dry your hands so that they are clean and free from any oil or shine. You may also want to use rubbing alcohol or nail surface cleaner beforehand to enhance this process.
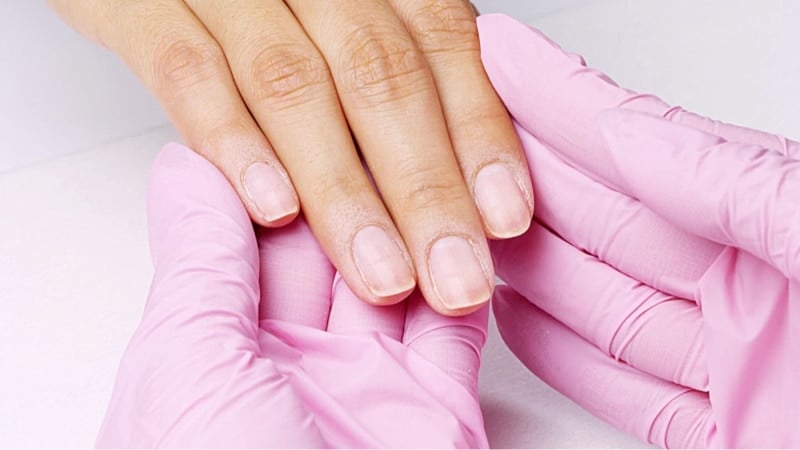
Apply the Polygel
When applying the Polygel, your nail technician will place a pea-sized amount onto the nail using a small metal tool. It is helpful to use a two-sided tool with a spatula and a brush. Using a brush end, it is dipped into a slip solution, making it easier to shape and preventing the gel from sticking to the tool. The Polygel will be sculpted into your chosen shape and length. If you want extensions, then you will use this step to place the cone over your nail.
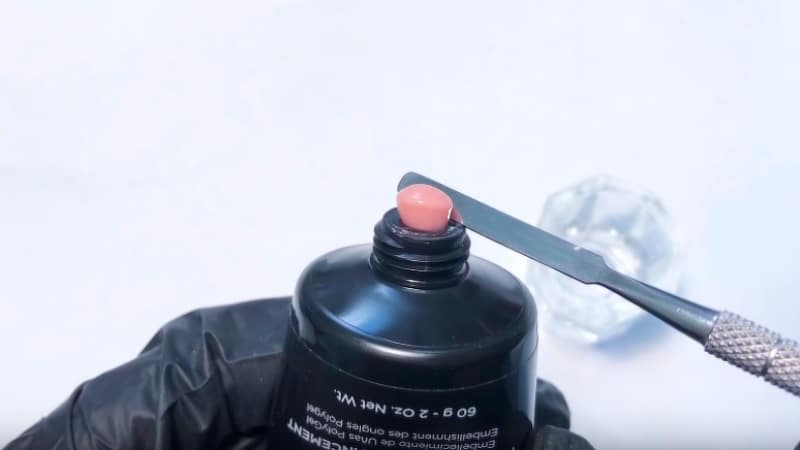
Smooth it Out
Polygel has a putty-like consistency and needs to be spread along the nail. To do this, you need a brush that is moistened in a slip solution to smooth it out without having to worry about the gel sticking to the tools. The great thing about this gel is that it is incredibly versatile and can be sculpted into your desired shape, including long stiletto nails.
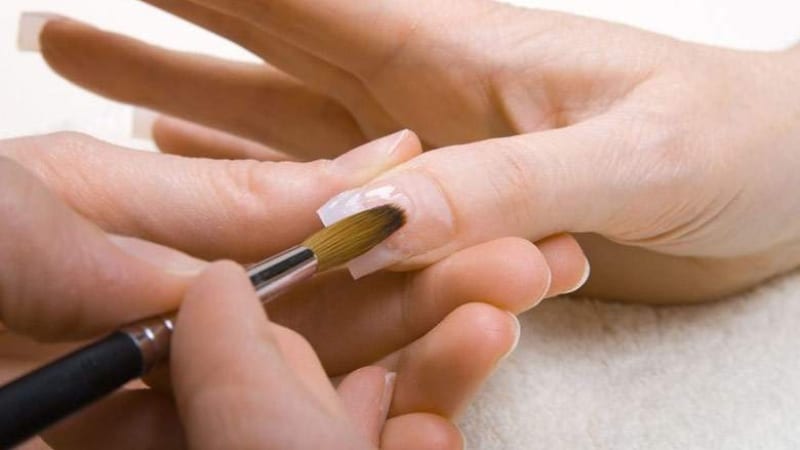
Cure the Nails
Polygel nails need to be cured, and this can be done using an LED light or a UV lamp. Depending on the brand of Polygel you use, the time it takes to cure will differ slightly, but it should be around 30 seconds under an LED and 2 minutes using a UV lamp. Polygel will not harden unless it is cured. This step is repeated later.

File
Filing is an essential step when applying Polygel, and because it is soft, you do not need an e-file to shape it. You can use a hand file to smooth out any uneven areas and sculpt your desired shape.
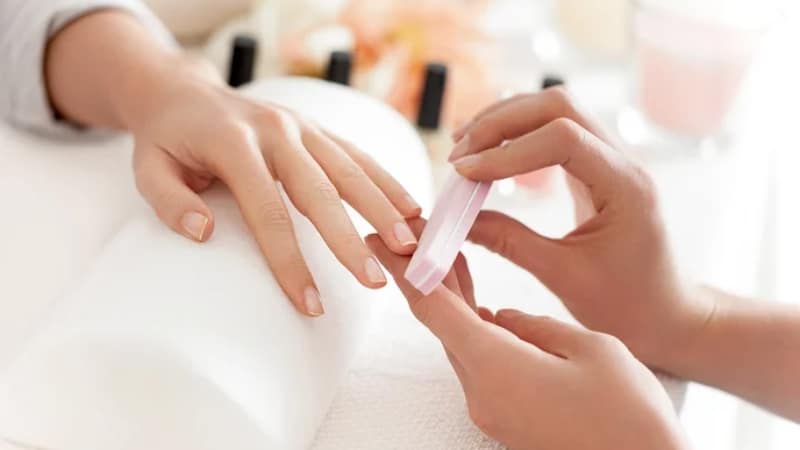
Apply Finish
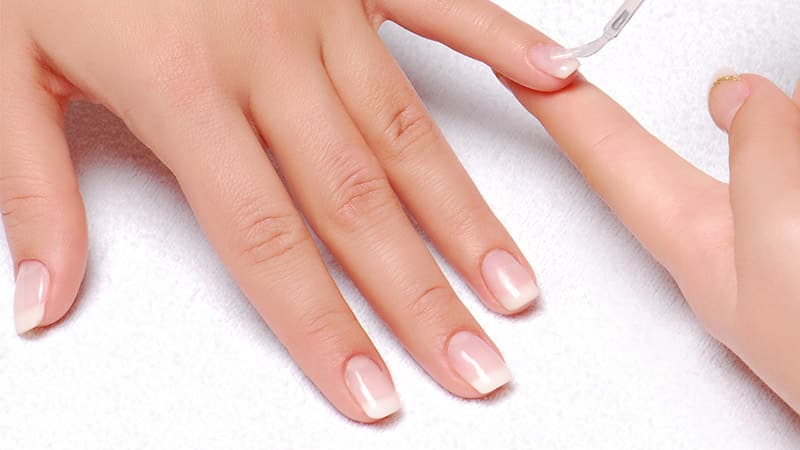
You’ve almost got the Polygel nails of your dreams, but you first need to apply a finish. One of the last decisions you will make is whether to use a shiny or matte topcoat, and you can discuss these options with your nail technician. The topcoat is essential because it makes the nails hard and durable, preventing damage and helping them to last longer.
Cure
For the second time, you would cure your nails by placing them under a nail lamp. It is often recommended to cure twice for the best results. The curing time will vary from around 30 to 60 seconds, depending on the Polygel brand.

Apply Lotion or Oil
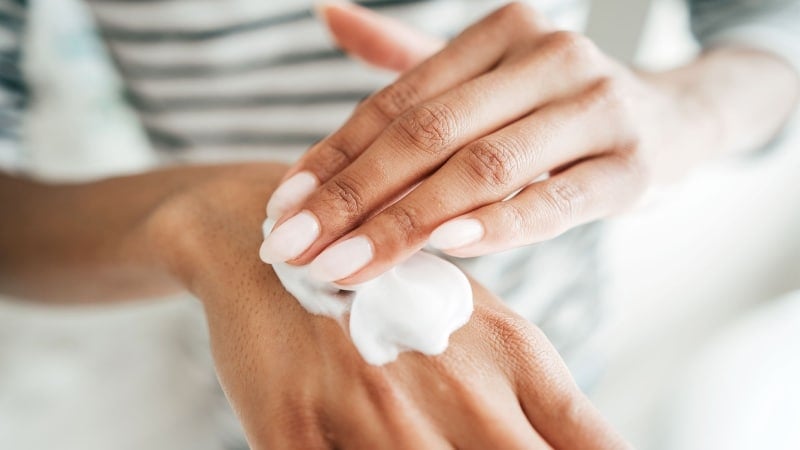
The aftercare of a manicure is incredibly important to ensure that your hands and cuticles are moisturized. If you go to a salon, the nail technician will likely complete your manicure by adding oil to the base of your cuticles and rubbing a good quality lotion on your hands. The same should apply if you are attempting to create Polygel nails in the comfort of your own home. This will keep your skin moist but can also help prevent cracking and provide protection. Squeeze cream onto your palm and massage it through, paying close attention to your fingertips.
How to Apply Polygel Nails with Dual Forms?
The great thing about Polygel nails is their versatility, and they can be applied in several ways, including the use of dual forms. This is one of the easiest methods to use for a beginner. You can follow this YouTube video for a step-by-step guide to help you use the method correctly. Start by picking a dual form that is slightly larger than your nail. Use a two-sided tool with a spatula and a brush and apply the Polygel with the spatula side onto the dual form. Use the slip liquid for ease off application. Spread the Polygel over the dual form and place it onto your natural nail at a 45-degree angle. You can also use a clamp to better keep it in place while it’s being cured. This can help prevent bubbles from forming. After curing you can remove the dual form and shape your nail as desired.

How to Remove Polygel Nails?
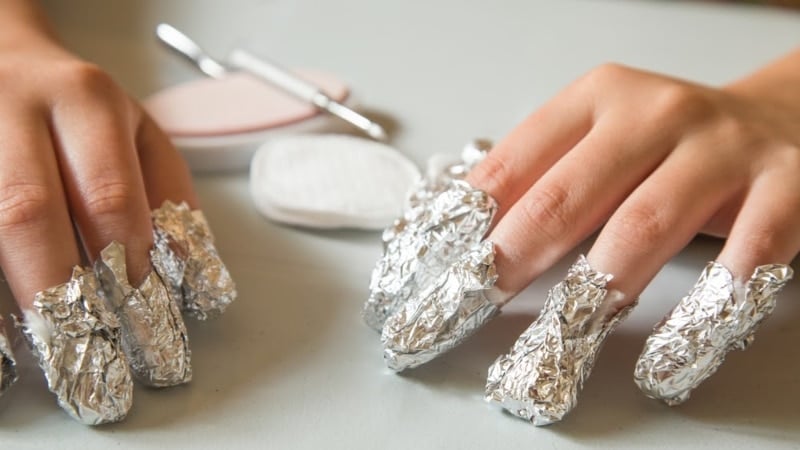
There are several ways to remove Polygel nails. They can be buffed off, and the remaining soaked off if needed. It is not a soak-off gel and is soft and easy to file off using either a hand nail file or an e-file. Nail technicians will usually get most of the Polygel off with this method, which can be followed up with an acetone soak. To achieve this yourself, you can then use a piece of cotton wool soaked in acetone. Place it onto your fingertips using aluminum foil and leave for around 10 minutes.
How Long do Polygel Nails Last?
Polygel manicures can last three to four weeks, typically longer than gel manicures but less than acrylics. Exactly how long your Polygel nails will last depends on several factors, including the nail length and shape you opt for and how often you use your hands. It may also be beneficial to opt for colors like nude or light pink, which will show your regrowth less. It is recommended to have an infill appointment, depending on how quickly your nails grow. Polygel is more expensive than gel, but they are also stronger and more flexible, giving you a gorgeous manicure that is less prone to chipping or breaking.
Is Polygel Manicure Safe for Your Nails?
When applied and removed correctly, Polygel nails are an excellent technique for your manicure. They are considered safer than other options, like acrylics, and do not have a strong odor or require mixing or monomers. That said, it is a relatively new approach, and not all nail technicians will be adequately trained. It is important to do your research and find a salon and technician that has plenty of experience with this application. It would help if you also considered the various brands that can be used to find one that works best for you.

FAQs
Is Polygel good for your nails?
Polygel is considered safe for your nails and is a lot better for them than other nail enhancement techniques. This is because they do not have a strong odor, and no chemicals are released into the air during application.
Is Polygel safer than acrylic?
Polygel is considered safer than acrylic nails because of the mixing that is involved with acrylics. There is no release of chemicals in the air during the application, and if applied and removed correctly, Polygel will not damage your nails. It is, however, important to know that artificial nails can sometimes cause infection.
How much are the Polygel Nails?
The price of Polygel nails can differ depending on your chosen nail technician and salon. There are also other factors to consider, for example, if you're getting them applied to your natural nails or opting for a sculpted extension. Prices can range from around $55 to $150.
Why do Polygel nails pop off?
Although Polygel nails are strong, flexible, and light, not all brands and application methods are perfect. If you end up bending the seals too much while trying to file and shape the nails, it is possible that this can result in your Polygel nails lifting. Not prepping your nails properly can also result in them popping off.
Can you paint Polygel nails?
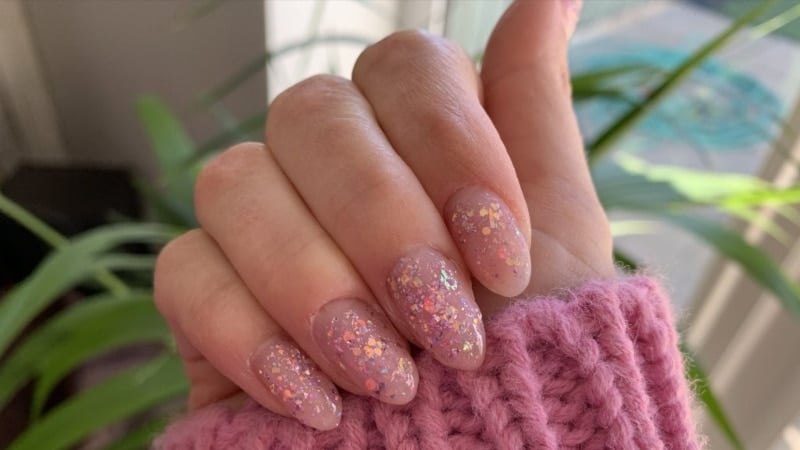
Polygel nails come in clear, white, and pink, but they can be mixed with standard polishes and gel polishes to experiment with colors. After applying your Polygel, you need to paint over them with your chosen lacquer and desired shade.
What are the best Polygel nail kits?
There are many different Polygel nail kits to choose from that cater to all budgets. When deciding on the best nail kit for you, it is important to do your research. Read reviews from other customers, look up compilations of the best lists from reputable publications, and ask the seller any questions you may have before purchase. A few top kits include Makartt Poly Nail Extension Gel Kit, Modelones Poly Nail Gel Kit, and Gershon Poly Nail Gel Kit.
What do you need for Polygel nails?
When doing Polygel nails, you need the relevant tools for prepping. This includes a nail file, buffer, and clippers. You will need the Polygel solution, a metal tool to apply it, a precision brush to smooth it, and a slip solution to prevent the Polygel from sticking to your nail tools. The solution also needs to harden using an LED or UV lamp, and you should apply a finishing coat. If you want to add color to your manicure, this can also be done using gel polish or a regular lacquer. Some nail technicians will also blend the colors with your Polygel. Lastly, it is helpful to use a moisturizer or oil to protect your hands.
How to soak off Polygel nails?
Although most of the Polygel will be removed using a hand file or an e-file, the remaining can be removed using an acetone soak. To do this, you need to dip cotton balls into acetone and place them on your fingernails. Wrap your fingertips using aluminum foil and wait for around 10 minutes.
How to make Polygel nails last longer?
Polygel nails tend to last around three to four weeks but can also be filled in to last longer. How long they last will depend on several factors, including your lifestyle and how quickly your natural nails grow.

Cailyn Cox holds a degree in journalism and has been working with The Trend Spotter as a writer for over ten years. She has worked with some of the most prestigious women’s and men's lifestyle publications. For her, writing is not just a job; it’s a passion, which is why each article she writes is approached with such enthusiasm and dedication. She has extensive knowledge of hairstyles, tattoos, and beauty and has made a career out of creating informative articles that appeal to women and men of all ages.
SUBSCRIBE TO OUR NEWSLETTER
Subscribe to our mailing list and get interesting stuff and updates to your email inbox.