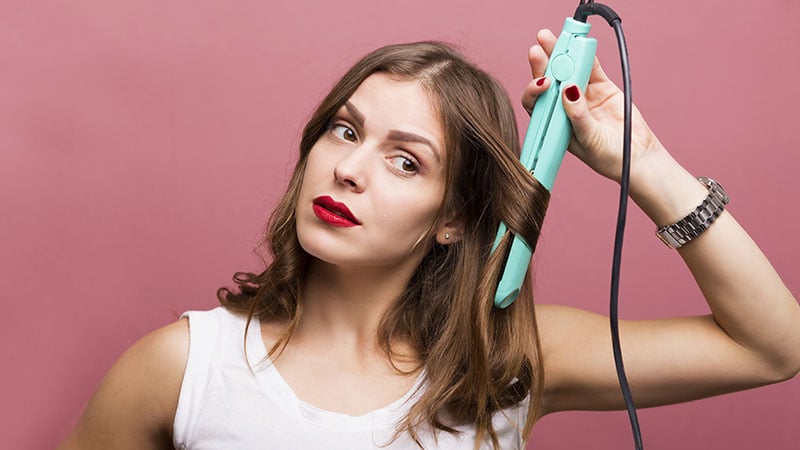
Take your hair from “eh” to “ooh-la-la” with our guide on how to curl your hair with a flat iron. Not only are flat irons great for sleek straight hair, but you can also use them to curl your lovely locks. Try out different techniques for different looks, and enjoy the versatility of this incredible styling tool. Just follow the steps below, and you’ll be a curly-haired goddess in no time.
RELATED: 15 Best Hair Straighteners & Flat Irons
1. Decide on the Type of Curl You Want
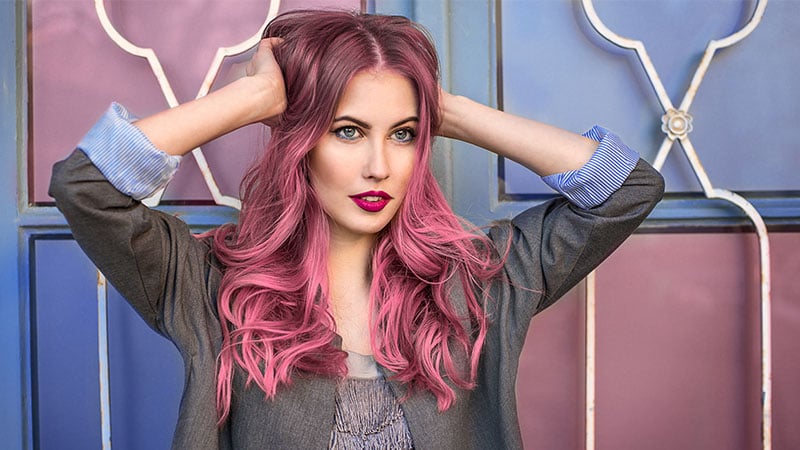
The first step to curling your hair is to decide what kind of curls you want. Do you want bouncy curls that would make Miss Universe proud? Loose, romantic curls that are perfect for date night? Or perhaps a casual beach wave, like you’ve just stepped off the sand in Hawaii? Look online for inspiration and different options, and have some reference photos on hand.
2. Choose the Iron
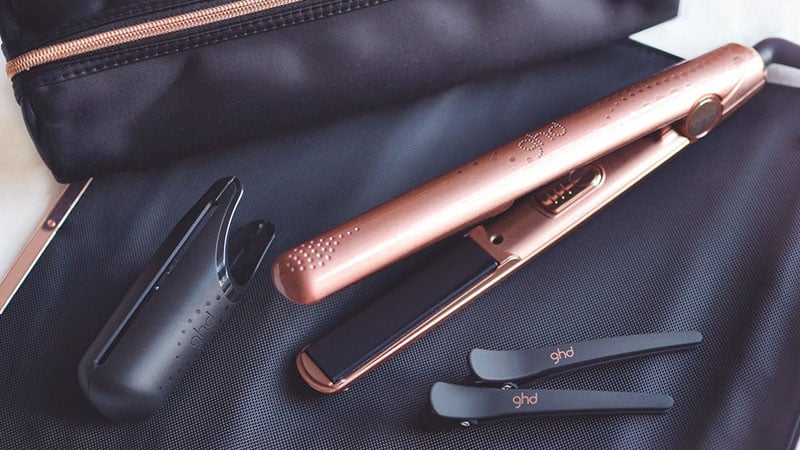
Next, you want to choose the right flat iron for curling. Things to consider include plate type. The two most common types are titanium and ceramic. Titanium heats quickly and evenly, though they can be pricier, while ceramic irons are great for most hair types, are slightly less expensive, but do wear over time. Next, you need to look at the plate width and shape. Ideally, for an iron to both straighten and curl, go for a smaller width, with rounded edges, to get the best of both worlds. Temperature is another element. Adjustable heat is the goal, as different hair types and styles need different temperatures. Finally, the cost is the last factor. While the cheapest option may be tempting, flat irons are worth investing more money in, so they last longer, perform better, and don’t damage your hair.
3. Get The Rest of the Tools Ready
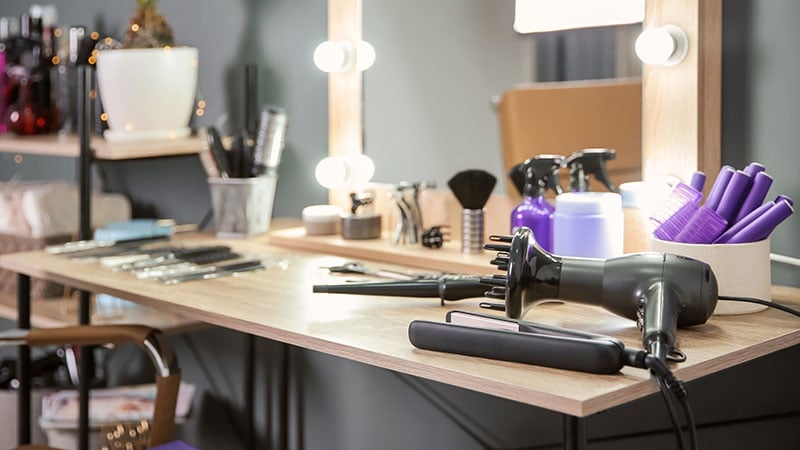
Before you commence turning yourself into a curly-haired goddess, there’s still a little more prep work to be done. You’ll need to gather all the other tools required to get the job done so that you’re fully ready to go. As such, you’ll need to grab heat protectant spray, hair clips, or a couple of hair ties, a brush, a comb, and hair spray. Optional extras include any other styling products that you like to use, and a wide-tooth comb, as they’re great for combing the curls out once you’re done.
4. Start with Clean Dry Hair
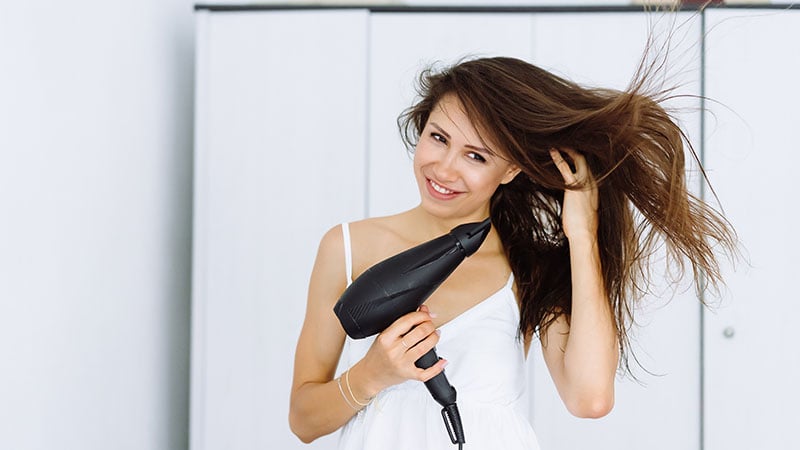
Once you’ve got everything ready to go, you need to make sure you have clean, dry hair. Curling wet or damp hair won’t work, and you risk burning it. Likewise, if you have styling products in your hair already, you risk damaging your hair, as well as your straightener.
5. Use Hair Protection
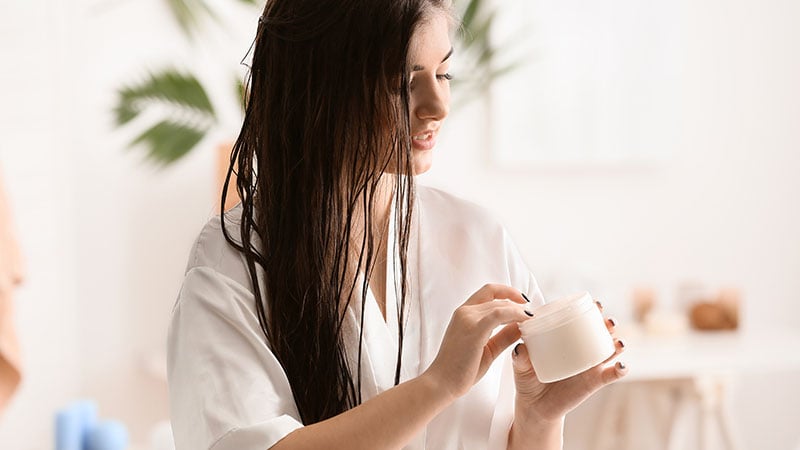
Using heat protection is one of the most critical steps. Flat iron temperatures sit between 250-400 degrees Fahrenheit, and that heat is being applied directly to your hair. A heat protection product provides a barrier between your hair and the heat, so it’s less damaging. Additionally, heat protectors include ingredients that will strengthen and smooth the follicles, as well as seal in moisture. That means a smoother curl and fewer flyaways.
6. Section Your Hair
Sectioning your hair is going to make the curling process much more manageable. You want to work from the bottom up, so it doesn’t turn into a hot mess. As such, you’ll want to start by sectioning off part of your hair at the nape of your neck. Clip or tie the rest of your hair up. Depending on the thickness of your hair, you may want to section your hair again and do the right side first, then the left. Alternatively, you can section the front sides off and just do the back to begin. You’ll work out what process is best for you once you’ve done it a few times. Just remember to always work from bottom to top.
7. Start Curling
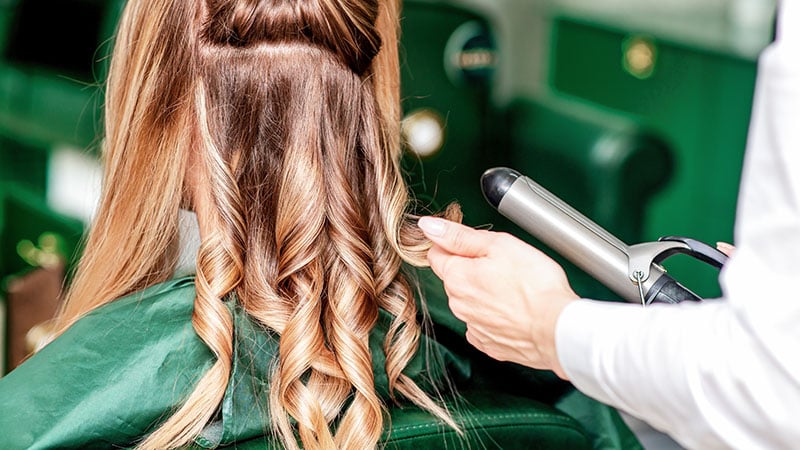
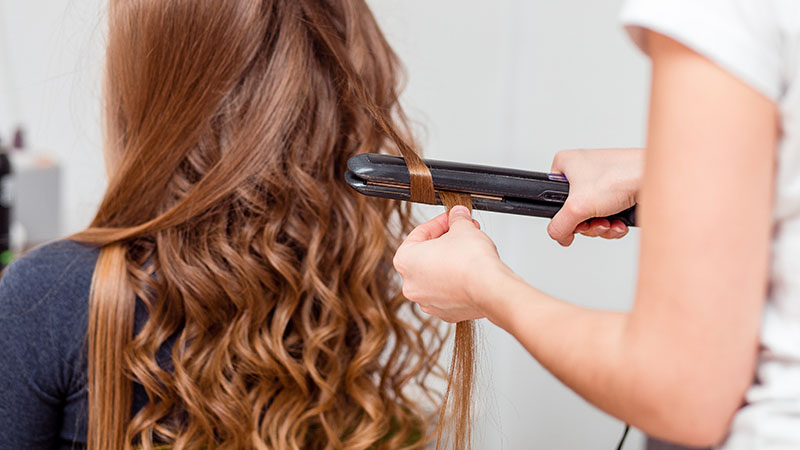
There are a few different techniques to achieve different kinds of curls. Regardless of the method, you should only tackle one-inch sections at a time, for the best results. The basic technique is to place the hair near the roots between the plates, clamping down. Pull the flat iron down, and when you get to the point where you want the curls to start, rotate the iron 180 degrees away from your face. With the hair wrapped around the barrel, pull the iron out to the end of your hair and release. For tighter curls, rotate the irons 360 degrees, so your hair is fully wrapped around. Additionally, the more horizontal you hold the irons, the tighter the curl. Finally, the faster you pull through the hair, the looser the curl, so go slow for a tighter result. Repeat your chosen technique on each one-inch section until you’re done!
8. Finish with a Hairspray
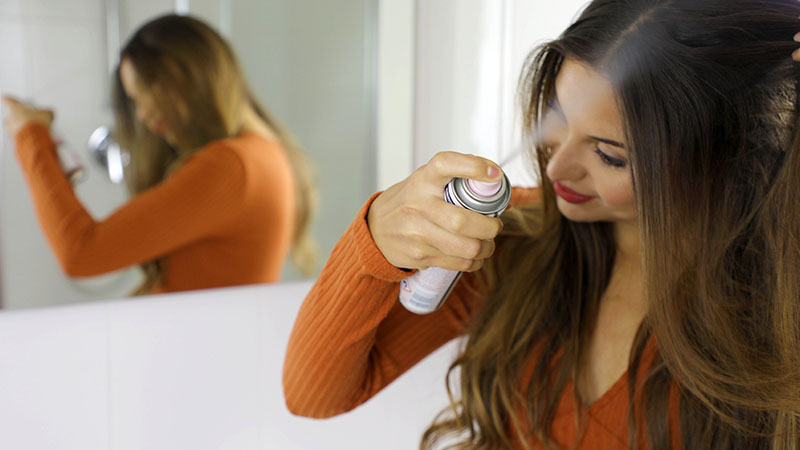
Once your curls are done, you’ll want to break them up a bit. You can run your fingers through, use a wide-toothed comb, or even brush it depending on the look you want. Doing this will make your hair look more natural and less mid-2000s prom. You’ll also need to set it with a hair spray, so your look lasts. If you find your hair struggles to keep curls in, you may want to do this after each section, then at the end as well. Finally, this is also the time for playing with the texture and adding any additional styling products you like. Roughing your style up a bit with a sea salt spray or dry shampoo paste will give it a beachy feel. Alternatively, using a high-shine smoothing serum will provide you with a glamourous, red-carpet-ready feel.
How to Curl Your Hair with a Flat Iron FAQs
Can you make curls with a flat iron?
While it sounds counterintuitive, you can use a flat iron to curl your hair – whether you're looking for beachy waves or tight curls. The trick is in the technique. Working in one-inch sections, clamp the hair and pull the flat iron down to where you want the curls to start, then rotate the iron 180 degrees away from your head, wrapping the hair around the barrel. Keep pulling the iron down until you get to the end of your hair, and release.
Why can't I curl my hair with a flat iron?
There are several reasons why you might struggle to curl your hair with a flat iron. First, ensure you've prepped your hair properly; it should be clean and dry with a heat-protectant product applied. Next, it's important that you don't try to curl too much hair at once – only curl in 1-inch sections so the flat iron can distribute enough heat evenly throughout the section. Your flat iron needs to be hot enough to create the curl, so try adjusting the temperate up slightly. Finally, make sure you are using the correct technique; the more horizontal the iron is – and the faster you pull it through your hair – the tighter and more defined your curls will be.
Is it better to curl your hair with a straightener or a curling iron?
It is quicker and easier to curl your hair with a curling iron. Plus, a curling iron gives you more options for different types of curls and waves, and will never leave your hair with a crease or bump. However, a straightener – also known as a flat iron – can still give you great results and is a multi-purpose tool, so it's a good option if you are on a budget and want to be able to create both straight and curly styles.
Alexandra Linde is an experienced writer holding a bachelor's degree in Journalism. She is the owner of Alexandra McKiterick Creative and has expertise in travel, fashion, fitness and lifestyle. Alex has previously written for Flightcenter, Travello, and Backpacker Deals.
SUBSCRIBE TO OUR NEWSLETTER
Subscribe to our mailing list and get interesting stuff and updates to your email inbox.
